Saturday, August 1, 2015

Sorbetto Alterations

A little Before & After on the Colette Patterns Sorbetto top, with alterations detailed below.

On the back, you can see that I added a center back seam in the gingham.  This is because I did not have enough fabric to cut a full back piece.  I took advantage of the seam to remove some of the excess fabric.  I still have a way to go here.  


 In both tops, I widened from the waist down.  In the gingham top, I also scooped the hemline on back and front.  I think it's more flattering to have a slight curve across the hip.

On the gingham top, I cut the armscye in a bit, and also raised the bust dart by 1"


Finally, I added to the back, and removed from the front shoulder seam - this is an effort to get it to stop falling to the back and riding up in front.

Tuesday, February 3, 2015

Can't stop making Lady Ska-Tees

One more Lady Skater as a shirt - a long-sleeved version using up some fabric leftovers.  I love the pop of cobalt ribbing!  This ribbing has one side solid, and the opposite ribbed, so it is not as stretchy  as it should be.  I think it would be better used on a double-knit as opposed to the cotton-rayon-spandex blend of this bodice.  It ended up ok, but it was a little harrowing to ease on the neckband.

Tuesday, September 30, 2014

Friday, August 1, 2014

Button Loop Closure

I decided to try to my first button loop closure on my wearable muslin of Simplicity 3823


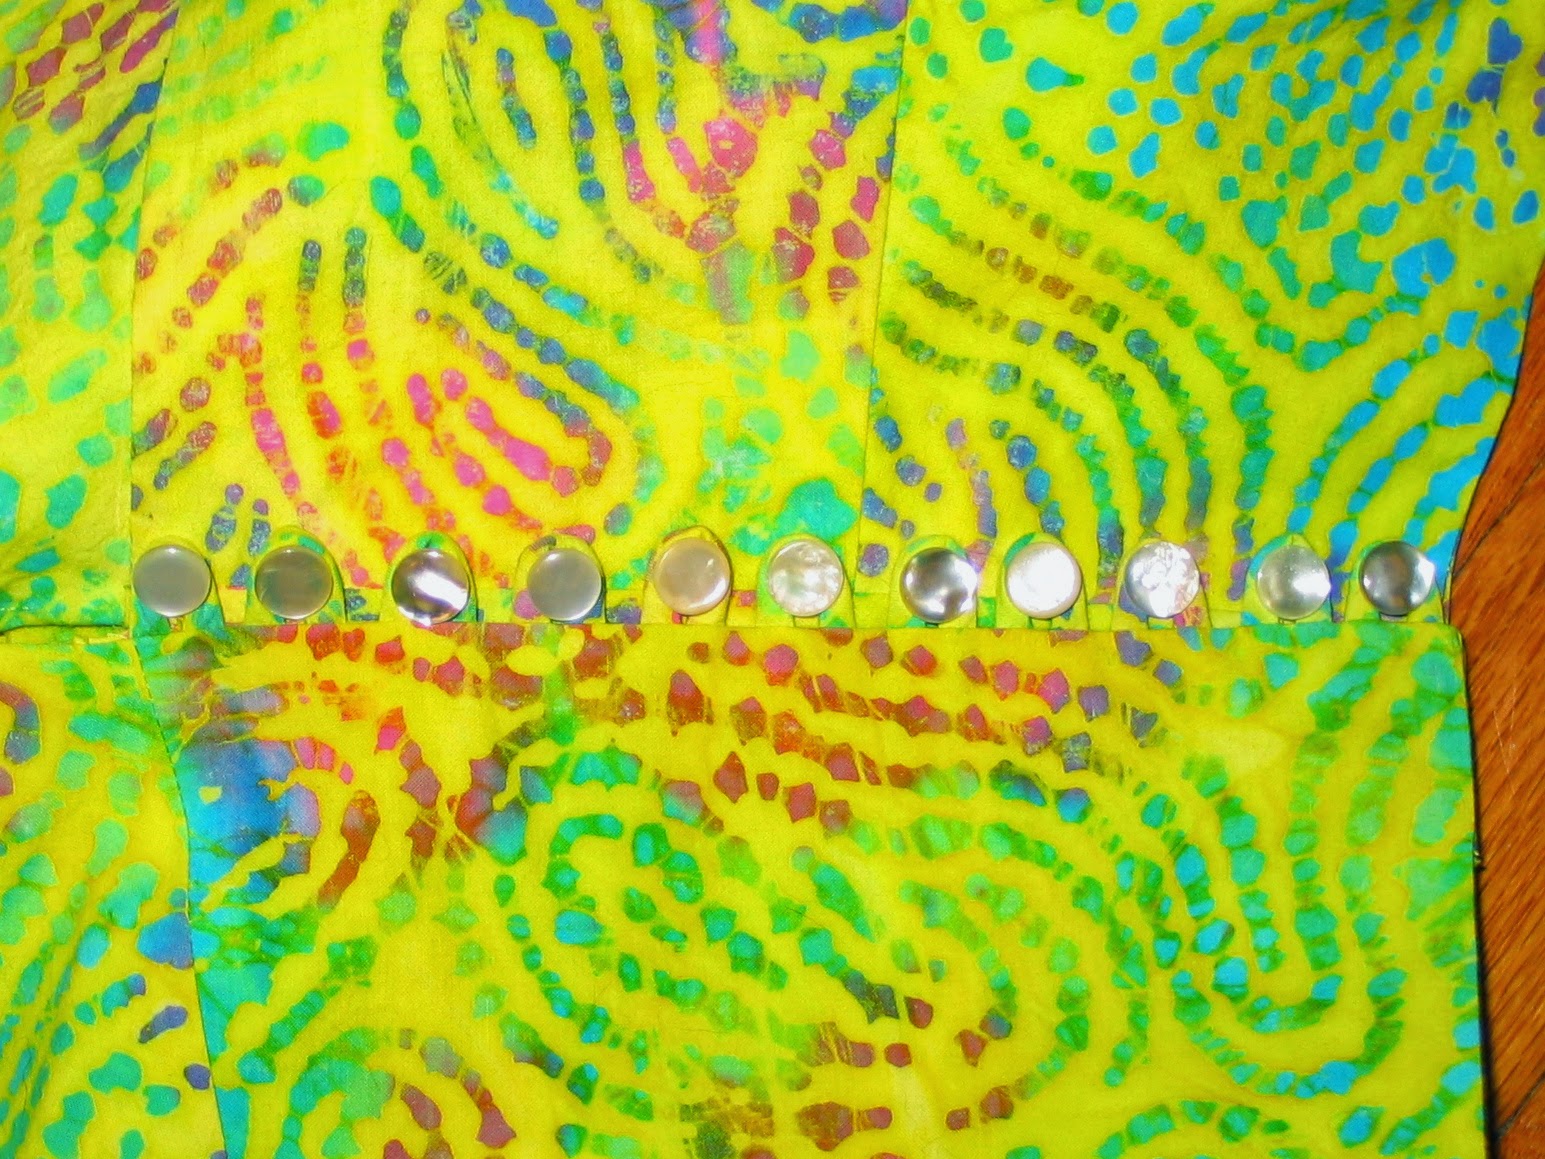
I first cut 1" bias strips of my fashion fabric, stitched them at 3/8" from the edge & turned them.  They were still kinda flat as "self filled" tubing - so I cut some sock yarn, and threaded 2 strands through each tube to give it some body.

I then read 5 books about how to make button loop closures.  The best instructions were in my vintage 1961 "Singer Dressmaking Course" book - Here's a snap of the lovely illustrations!


I found some appropriate buttons, and measured my desired spacing on the garment.  I collected some double-stick tape and a piece of paper and started to place my loops.


I decided to simply put the loop into the seam allowance that was there for the zipper - this worked well.


On the opposite (button) side, I cut a 2" wide placket, and sewed that into the seam so that the underlap was wide enough to avoid my skin peeking through under the buttons.  I sewed a small snap to the corner at the top, so that it will be secure when wearing.


The loop closure is really very pretty & comfortable.  I'm glad I tried to learn something new instead of just installing another zipper.  


I still have to hem the peplum, and then take some final photos.

Thursday, July 24, 2014

WIP - halter top

I'm going to make Simplicity 3823 halter-top dress in this tropical-print Kaufmann cotton poplin.


I made a muslin in a batik cotton, and decided to line & alter it to be wearable.  I added some cotton batting to pad the cups.  I cut & nested a few ovals of decreasing size, stitched them to a backing.  I sandwiched them between the lining and outer layer, and basted to the lining side.  My lining is the same batik, and I did add the boning to the bodice back and side.  Finally, I added a small peplum below the waistband so that it is not a crop-top.

I still need to put in a closure, and hem the bottom.  The pattern calls for a lapped zipper, sewn in over the lining and outer fabric together.  This always seems so messy to me - why not try to nest the zipper inside the lining if you can?  I'm considering other closure options (perhaps a button band?)


I did a small bust adjustment by removing fabric from the back panels - sounds strange, but it worked well, and I have excellent coverage in the front.  Here is an image of where I marked the new seam-line:


I'm not really a Satinist


But what about the silk satin?

Wednesday, June 11, 2014

Sway Back

A while ago someone asked about how to remove length at the center back - for swayback alteration.  I'm making a new Lady Skater, and I altered the back bodice in this way.

Below is a photo showing what I did.  I use my curved ruler.  I mark at center back the height of the amount I want to remove (2/3") - then I place one edge on the side seam corner, and the other on my mark at center back and mark the new cutting line  For this pattern, I have created full-size pattern pieces - so next I flip the ruler and mark the same adjustment on the other side of the bodice.  I make sure to put the same ruler mark (3) at the center back when I flip it, so that the curve is the same on both sides.